Rust Study
Spend time on studying RUST, stay hungry and stay foolish.
Never give up, keep climbing~
Reference
https://reberhardt.com/cs110l/spring-2020/
https://course.rs/about-book.html
https://practice.rs/why-exercise.html
https://practice.rs/why-exercise.html
https://www.runoob.com/rust/rust-tutorial.html
Programming a Guessing Game - The Rust Programming Language (rust-lang.org)
Install rust
fix success or fail
After installation, we run rustc -V and cargo -V and will see the details of version.

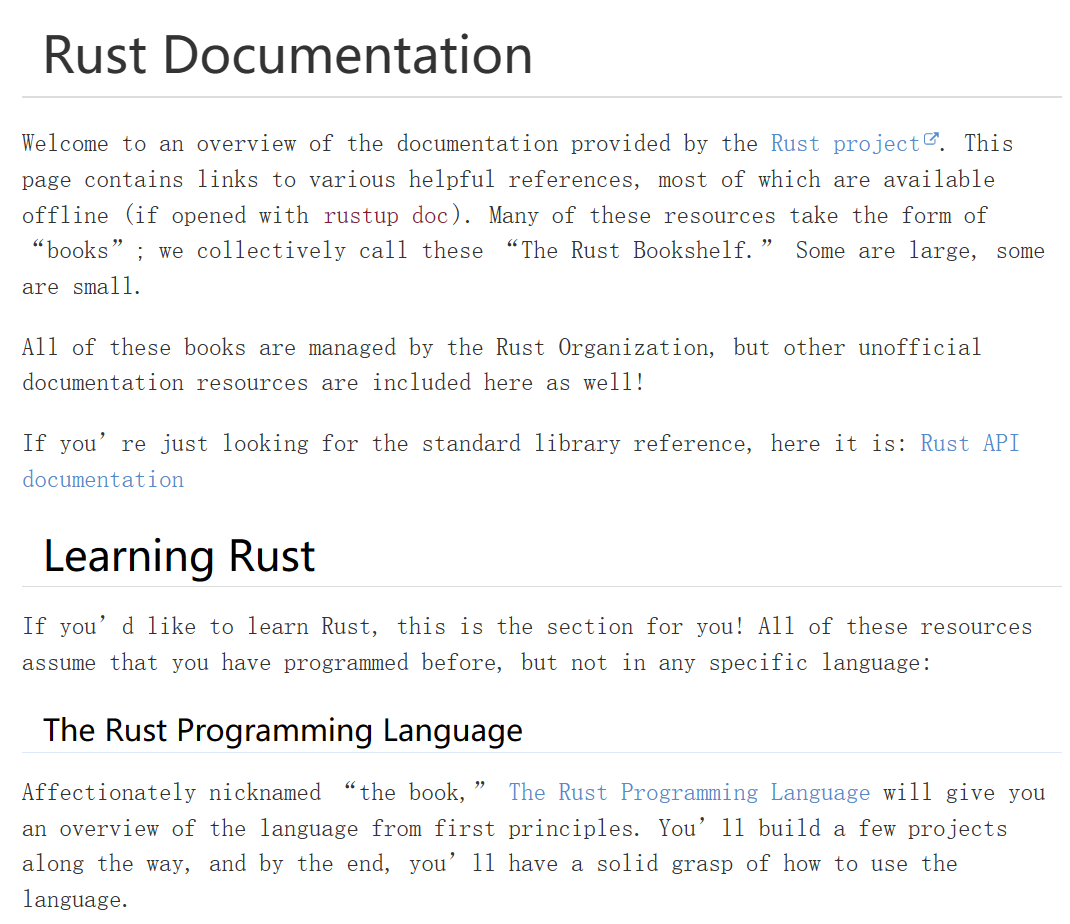
local documents
Run rustup doc.

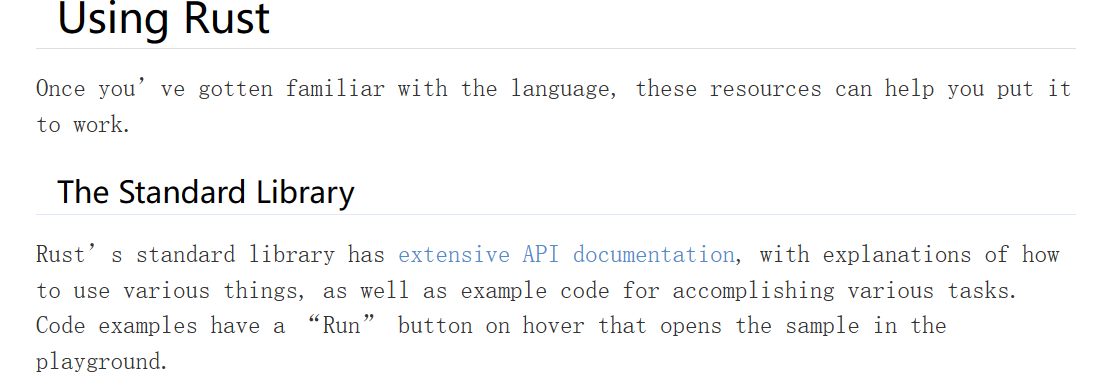
When we don’t know how to use the functions, we can find them in API documents.

Build vscode
run rust code
I have installed and compiled the environment of the vscode with rust.
An example.
1 | fn main() { |
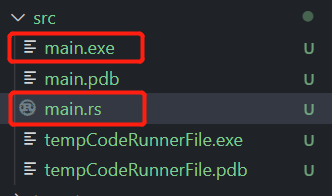
compile, build and run.


Using the command line and run main.exe, we can also get the output.

install plugins
Some recommended plugins.
- Even Better TOML: support the complete
.toml - Error Lens: emm, details of the errors. It will impact
sagemath. so, I uninstall it - One Dark Pro: theme
- CodeLLDB: Debugger
Cargo
compile project
Management about rust.
Run in command line, new the project.
Run cargo run, it will build and compile the project and print the output finally.

It defaults to debug mode. If we want to switch to release mode to optimize the project, we can run cargo run --release directly.

Use vscode directly, we also achieve the target.
- cargo
cargo runmode: debugcargo buildmode: debugcargo run --releasemode: releasecargo build --releasemode: releasecargo checkcheck that the project code can be run if the size of project is too large.
- vscode
- Use according to what you need.
cargo documents
cargo.toml and cargo.lock are the core part of cargo. All things about cargo are about these two documents.
cargo.toml: description of project data, which is import for the rust project.cargo.lock: detailed manifest of project dependencies, which is mainly depended on the rust project itself.
cargo.toml is like this. It first shows the details about the project, containing name/version/edition.

Second it shows what it depends on. There are three ways to introduce dependencies.
- based on
crates.io: specify version information - based on
the urlof the source code of the local repository - based on
the absolute or relative pathof the local repository
Three ways to import dependencies:
1 | [dependencies] |
Hello World
RustProject/greeting
RustProject/advanced_code
test code:
1 | fn greet_world() { |
How to run?
- Vscode, and just
run code. - Cmd, open a terminal and go to the root of world_hello project. Run
cargo [project_name].

Look at the code carefully, we can get:
- Rust natively supports
UTF-8encode strings. println!. In Rust, this is the macro operator, and we can currently think of a macro as a special type of function.- We use
{}, which can automatically recognize the type of the output data. - Rust’s collection types can’t loop directly and need to become iterators.
advanced code
1 | fn main() { |
debug
terminal
1 | cargo run |

cmd

release
terminal
1 | cargo run --release |

cmd

understand code
- Control flow:
forgo withcontinue - Method syntax: Since Rust has no inheritance, Rust is not an object-oriented language in the traditional sense, but it steals methods from the OO language using
record.trim(),record.split(','), etc. - Lambda function: Functions can be taken as parameters or as return values.
Guess game
RustProject/guessing_game
accept the user’s input
1 | use std::io; |
go over it line by line
1 | use std::io; |
bring the io library which comes from the standard library (std)
1 | fn main(){} |
fn means a new function
1 | println!("Guessing the number!"); |
state what the game is
request input from the user
1 | let mut guess = String::new(); |
let statement to create a variable to store the user’s input, to remember that once given it will not change, for example:
1 | let apples = 5; |
Thus, we add mut before the variable name.
1 | //example |
the :: in ::new line indicates that new is an associated function of the String type.
let mut guess = String::new();means that it created a mutable variable that is currently bound to a new, empty instance of a String.
1 | io::stdin() |
call stdin function from io module, which allows us to handle user input
.read_line(&mut guess) call the read_line method on the standard input to get input from the user.
pass &mut guess to read_line to tell string to store the user’s input
& indicates that this argument is a reference, no need to copy that data into memory multiple times
1 | .expect("Failed to read line"); |
return a Result type to encode error-handling information
Result‘s variants are Ok and Err.
If we don’t call expect, the program will compile, but it will get a warning.
The right way to suppress the warning is to actually write error-handling code, but in our case we just want to crash this program when a problem occurs, so we can use expect.
PAY ATTENTION ! Expect NOT Except !!!
1 | println!("You guessed: {}", guess); |
The line prints the string that now contains the user’s input.
generate a random number
Aim to generate a secret number that we will try to guess.
The random number between 1 and 100.
The rand crate is a library crate, which contains code that is intended to be used in other programs and can’t be executed on its own.
crate is a term in Rust, meaning a stand-alone library or project
library crate which means the project contains library code
So we should import it in Cargo.toml which include the rand crate as a dependency.
1 | [dependencies] |
contains below:
- crate name
- crate version
run cargo build after adding the rand crate as a dependency
After updating the registry, Cargo checks the [dependencies] section and downloads any crates listed that aren’t already downloaded. In this case, although we only listed rand as a dependency, Cargo also grabbed other crates that rand depends on to work. After downloading the crates, Rust compiles them and then compiles the project with the dependencies available.
add code to generate a random number:
1 | use rand::Rng; |
go over it line by line
First, add the line use rand::Rng;. Rng trait defines methods that random generators implement, and the trait must be in scope for us to use those methods.
Second, we call rand::thread_rng function that gives us the random generator, and it is local to the current thread of execution and is seeded by the operating system.
Third, gen_rangeis a function that define the random number range, which we brought into scope with the rand::Rng; statement.
The usage is that start..=end, is inclusive on the lower and upper bounds. For example 1..=100 means request a number between 1 and 100.
You won’t just know which traits to use and which methods and functions to call from a crate, so each crate has documentation with instructions for using it.
ensure reproducible build with the cargo.lock file
Rust creates the Cargo.lock file the first time when running cargo build.
The Cargo.lock file is important for reproducible builds, and it’s often checked into source control with the rest of the code in your project.
update a crat to get a new version
1 | cargo update |
and the dependencies will change.
The next time you run cargo build, Cargo will update the registry of crates available and reevaluate your rand requirements according to the new version you have specified.
Cargo makes it very easy to reuse libraries, so Rustaceans are able to write smaller projects that are assembled from a number of packages.
Rustaceans means users or developers who use the Rust
at this time, the complete code is:
1 | use std::io; //bring the io library which comes from the standard library (std) |
when we run cargo run, we will see:

However it won’t achieve the aim to generate a secret number and compare it to the guessing number.
compare the guess to the secret number
Step1
make a comparison
1 | use std::cmp::Ordering |
However it return a number comparison and break.
Step2
turn into a loop
Notice the numbers’ usage and the order of using these different numbers.
We ought to generate different guess to solve out the secret_number which is generated by the system.
So secret_number is above loop.
1 | let secret_number = rand::thread_rng().gen_range(1..=100); |
Step3
equal then break
1 | match guess.cmp(&secret_number) { |
complete code
1 | use std::io; |
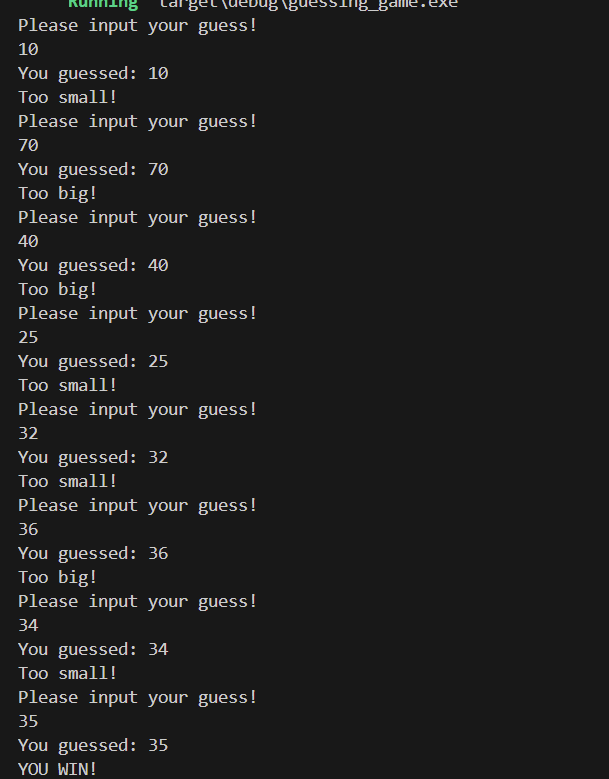
run cargo run:

handle invalid input
To further refine the game’s behavior, rather than crashing the program when the user inputs a non-number, let’s make the game ignore a non-number so the user can continue guessing. We can do that by altering the line where guess is converted from a String to a u32, as shown in Listing 2-5.
1 | //let guess: u32 = guess.trim().parse().expect("Please type a number!"); |
go over it line by line
Switch an expect call to a match expression to move from crashing on an error to handle the error.
The parse returns a Result type and Result is an enum that has the variants Ok and Err.
We use a match expression here, same as the Ordering result if the cmp method.
- If
parseis able to turn the string into a number, returnOkcontainsresultant number. The number will end up right where we want it in the newguessvariable we’re creating. - If not, it will return an
Errvalue, we justcontinueand return toloopto ask for another guess.
Finally ,the program ignores all errors that parse might encounter.
Common programming concepts
variables and mutability
1 | // fn main() { |